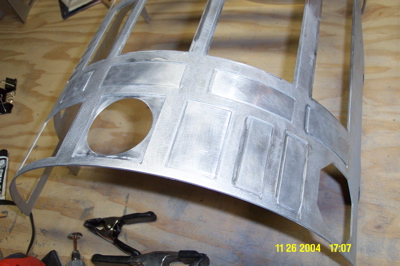
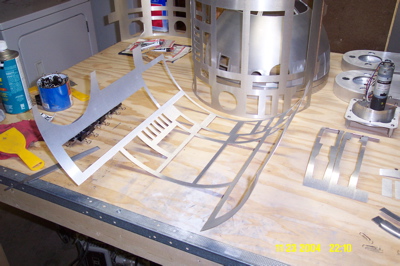
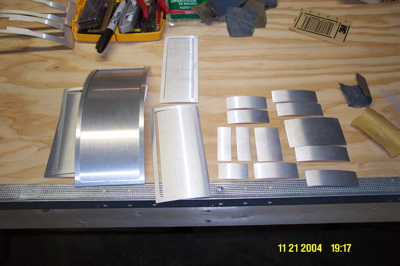
Front skins fixed panels in place
bonding front skins
front skins ready for primer
posted by Chris at 9:00 PM
0 comments
![]()
![]()
My quest to build an R2 unit incorporating Apple technology.
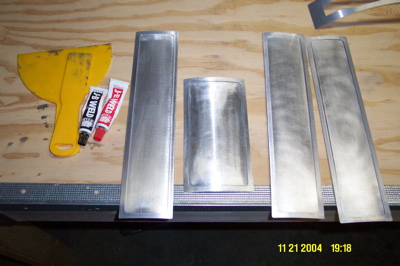
bonding front skins
posted by Chris at 9:00 PM
0 comments
![]()
![]()
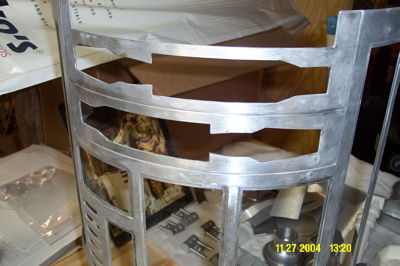
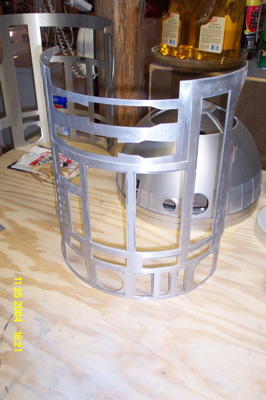
final jb weld of rear skins
posted by Chris at 8:54 PM
0 comments
![]()
![]()
At last some of the guys on the R2 list are talking about starting another run of T&J aluminum body frames. I hope this happens fast. I really need one soon or I'll basically be stuck with no way to proceed with construction. Also, Ward Jones has announced he will soon begin a run of aluminum booster covers. Woo hoo! After that all I'm lacking in the way of major structural parts is a center foot. I might actually be able to pull it all together in time for C3 after all!
posted by Chris at 8:49 PM
0 comments
![]()
![]()
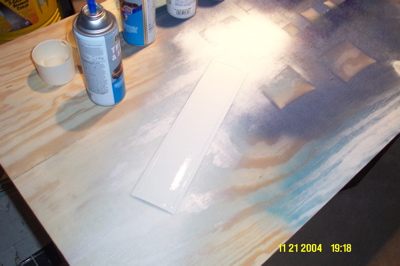
Painting more of the body panels. These have 4 coats of Wimbledon White. After this they will get 4 or 5 coats of clear coat.

posted by Chris at 8:46 PM
0 comments
![]()
![]()
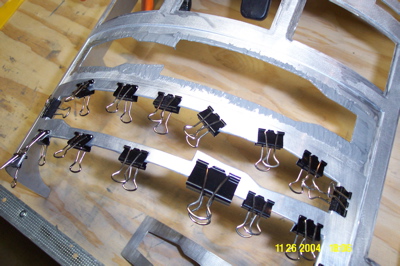
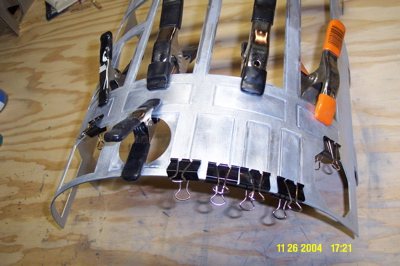
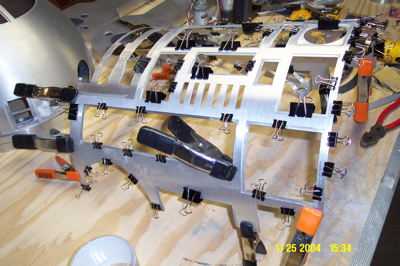
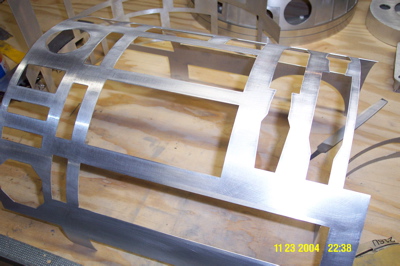
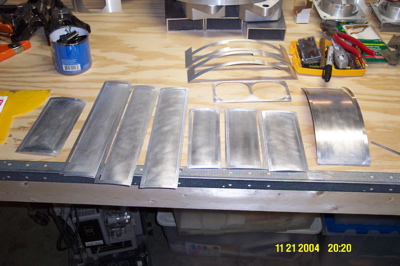
Front skins are dry. I removed all of the clamps and now it's time to clean up all of the JB Weld and sand everything to get ready for priming and paint.
posted by Chris at 8:44 PM
0 comments
![]()
![]()
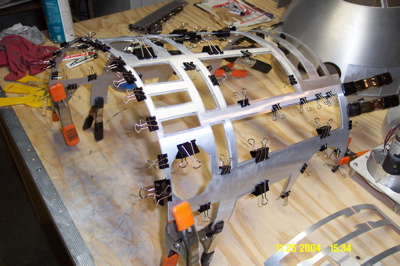
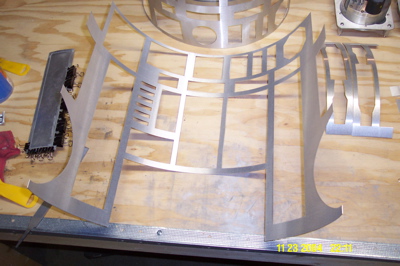
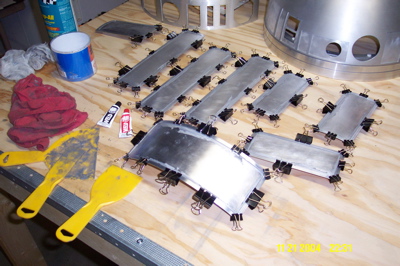
Got the front skins JB Welded together and clamped.
posted by Chris at 8:40 PM
0 comments
![]()
![]()
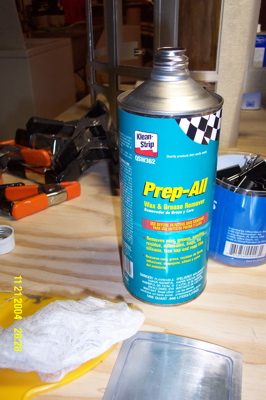
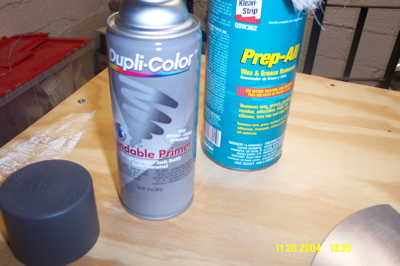
Tonight I'm rough sanding the surfaces of the inner and outer front skins so I can JB Weld them together. After this I'll clean them with Prep All and go over them with a tack cloth. Then I'll JB Weld and clamp them together.
posted by Chris at 10:25 PM
0 comments
![]()
![]()
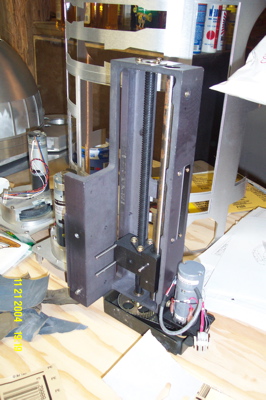
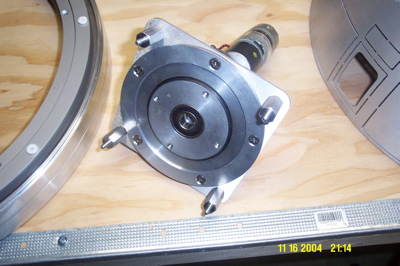
Here's the 11" throw linear actuator that I'll use for the 2-3-2 mechanism:
posted by Chris at 11:06 PM
0 comments
![]()
![]()
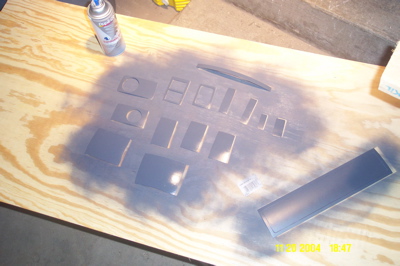
I have cut, cleaned, and began painting the body panels and doors.

posted by Chris at 7:20 PM
0 comments
![]()
![]()
Here is what the first few coats of Wimbledon White looks like on one of the tall body door panels:
posted by Chris at 7:18 PM
0 comments
![]()
![]()
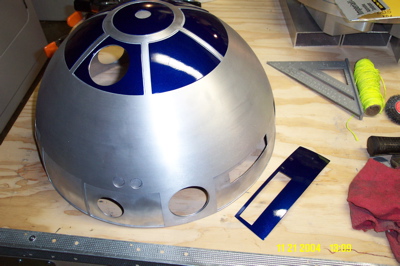
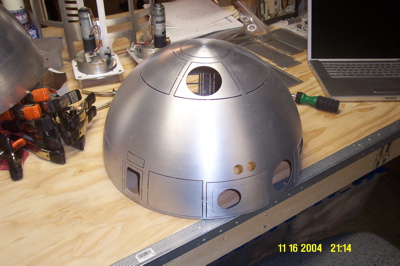
Except for the main radar eye cut, all dome cuts are done, filed, and sanded smooth.
posted by Chris at 2:47 PM
0 comments
![]()
![]()
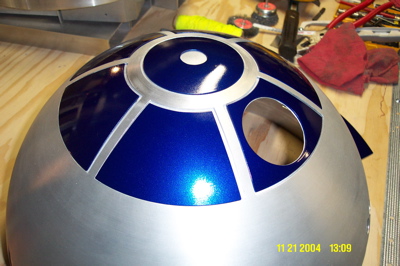
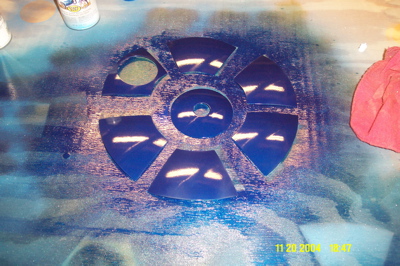
I think the Krider paint method turned out great. I put 5 coats of clear coat gloss on them. They really shine.
posted by Chris at 1:09 PM
0 comments
![]()
![]()
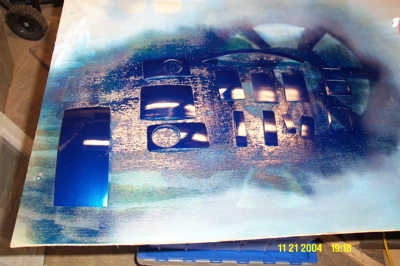
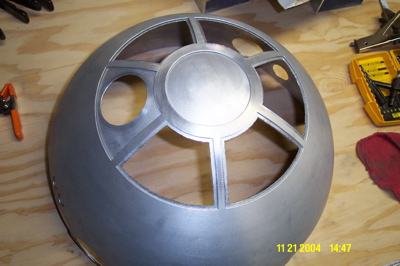
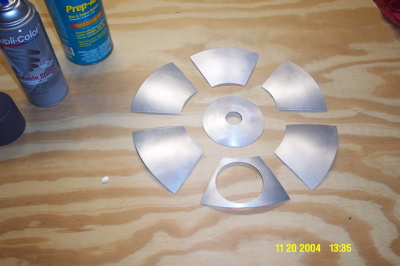
Raw aluminum sanded and prepped:
posted by Chris at 1:35 PM
0 comments
![]()
![]()
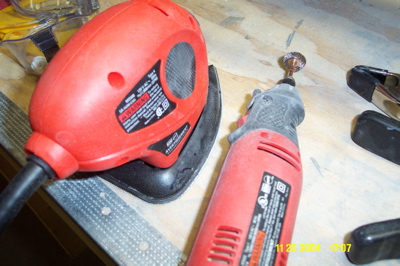
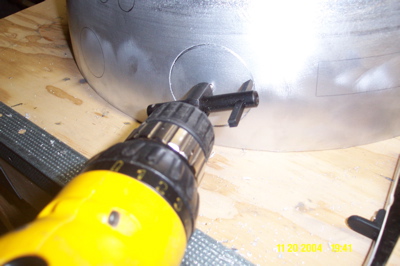
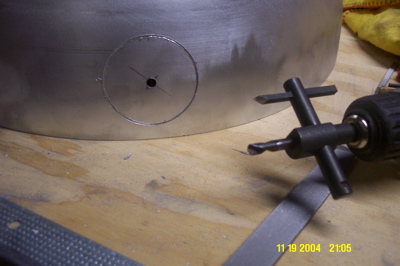
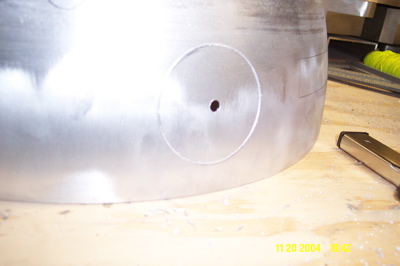
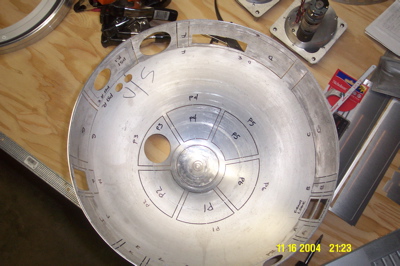
I cut holes in the inner dome for the 3 holoprojectrs and 2 PSIs. I used a circle cutting tool with my drill motor to score a deep cut, then jig-sawed out from the center and snapped off the wedges.

posted by Chris at 9:05 PM
0 comments
![]()
![]()
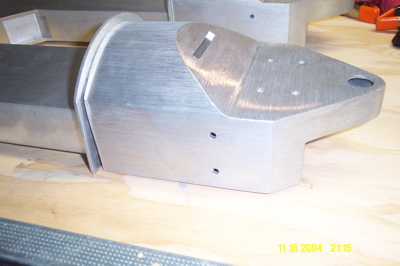
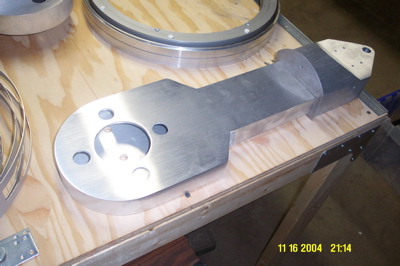
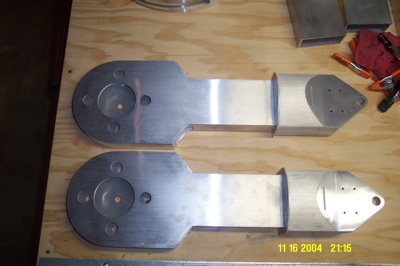
These things are HEAVY. Kinda look like a race car part. Heh.
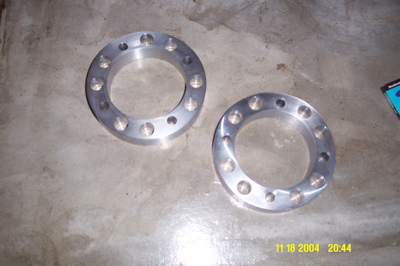
posted by Chris at 8:45 PM
0 comments
![]()
![]()
And I am very happy about it. Thanks Ron! Excellent work! It was worth the wait and the money.
posted by Chris at 10:56 PM
0 comments
![]()
![]()
Shoulder motor mounting plates, aluminum outer legs, and the linear actuator for the 2-3-2 mechanism arrived in the past two weeks. Been busy with other projects, haven't spent much time on R2, but will get back on it after this weekend's project is done. Ron, where is my DOME? :)
posted by Chris at 6:33 PM
0 comments
![]()
![]()