Tuesday, March 29, 2005

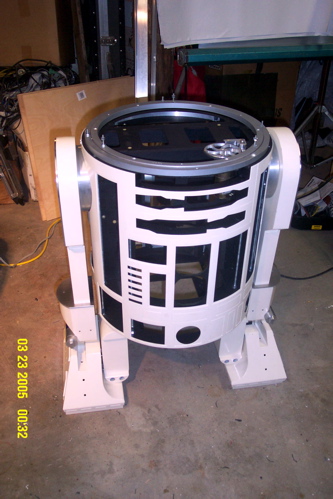
2-3-2 tilt rod thoughts

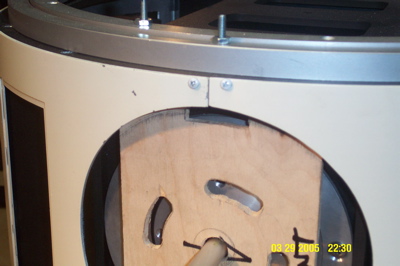
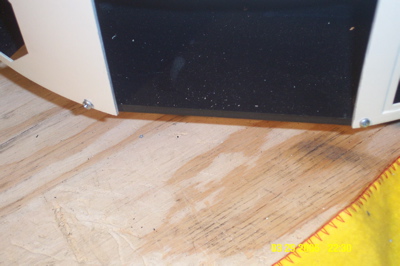
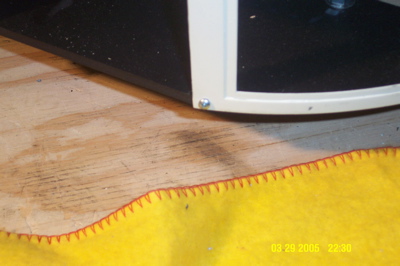
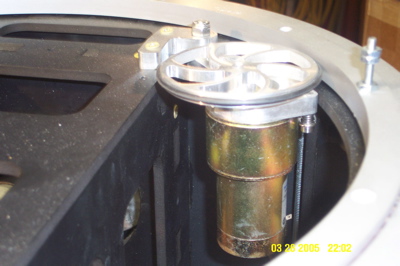
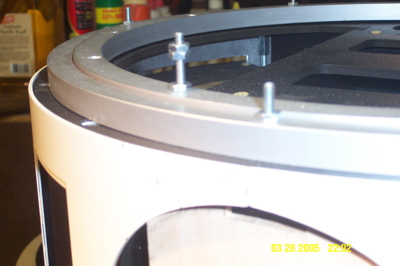
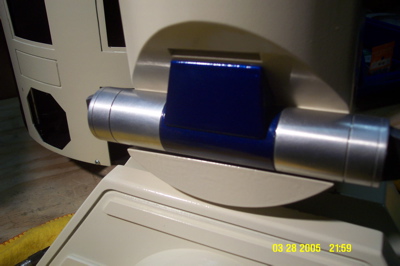
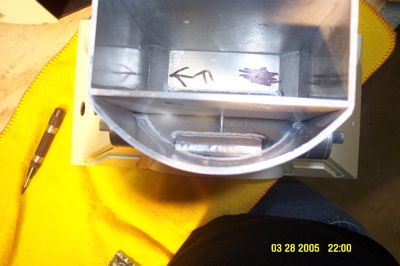
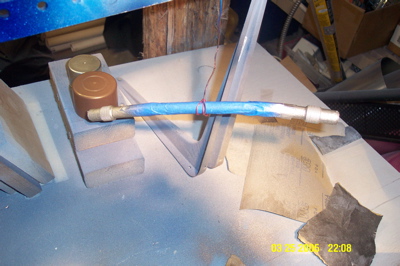
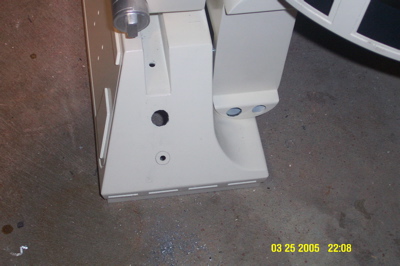
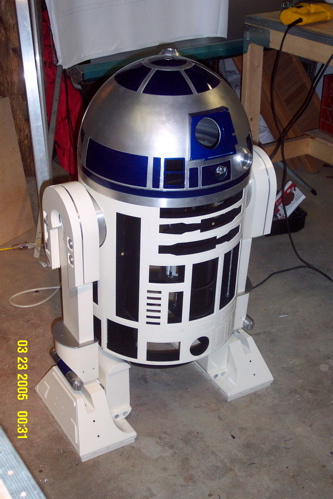
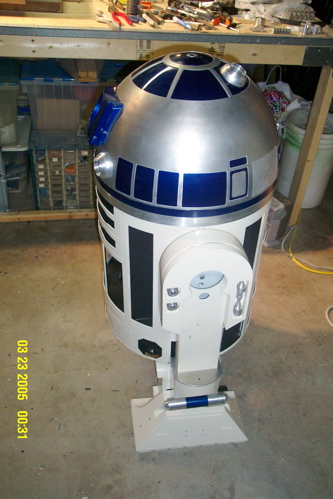
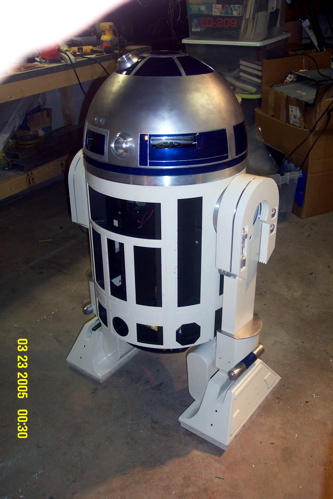
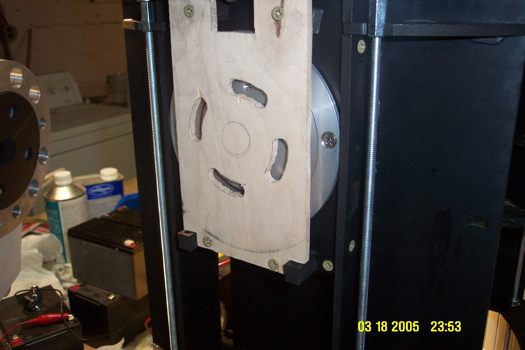
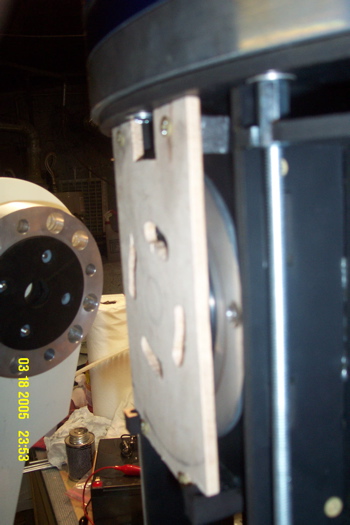
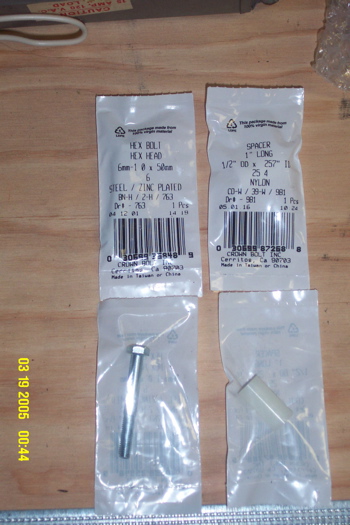
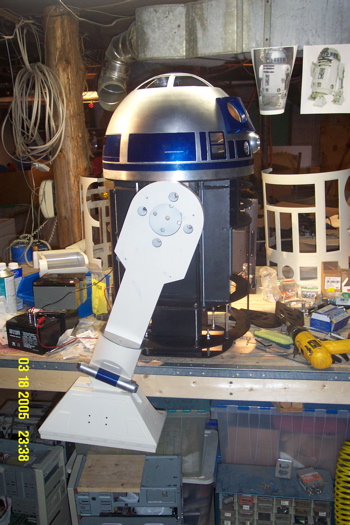
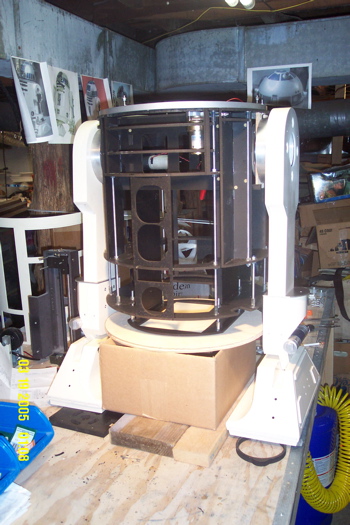
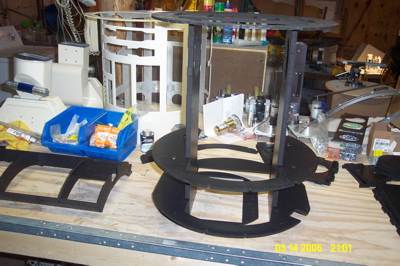
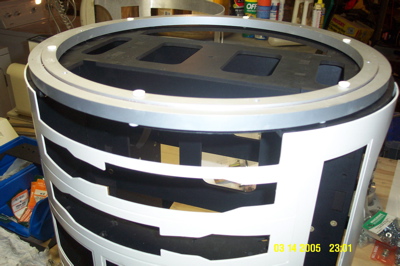
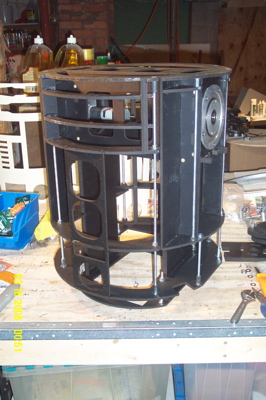
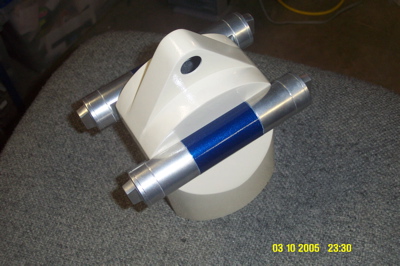
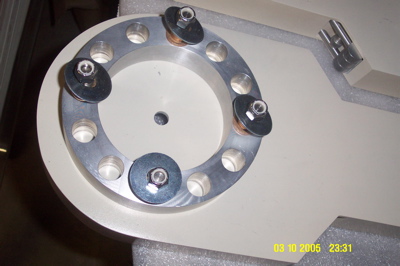
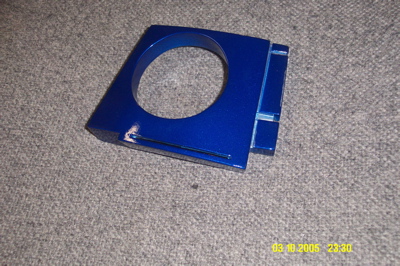
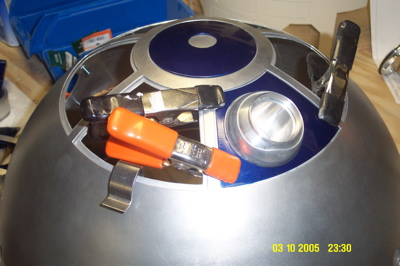
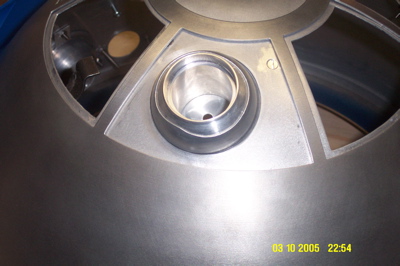
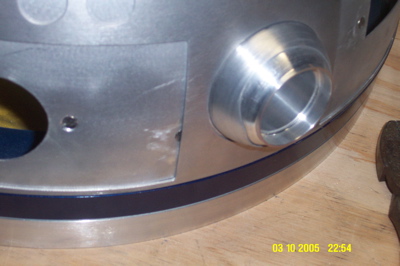
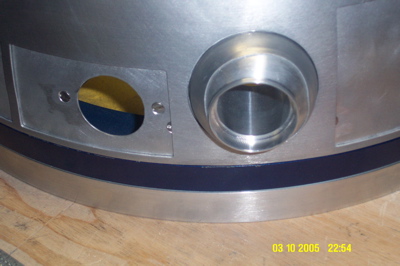
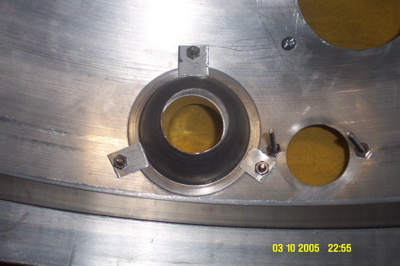
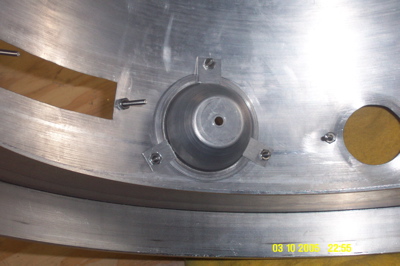
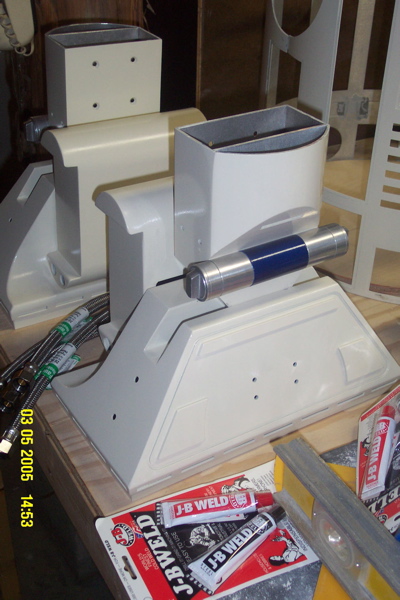
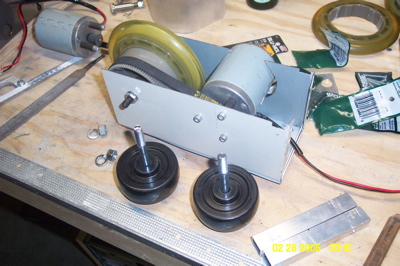
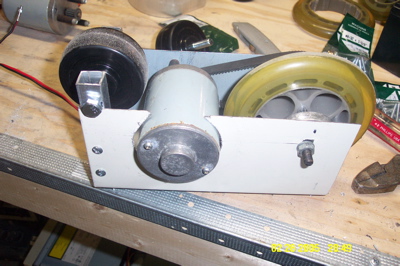
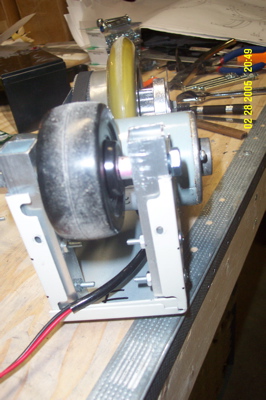
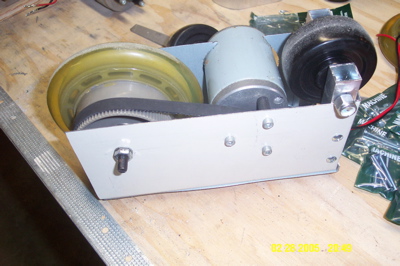
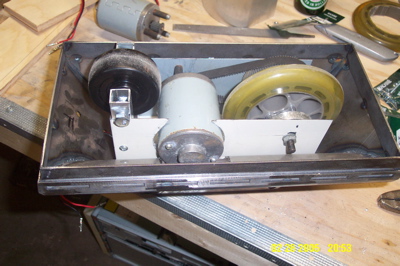
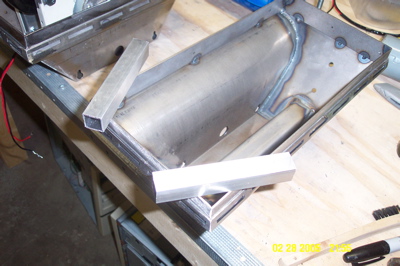
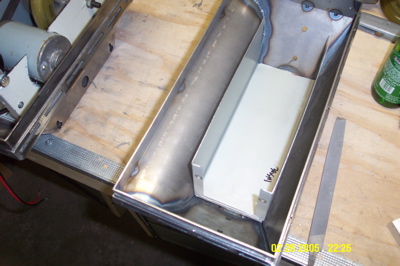
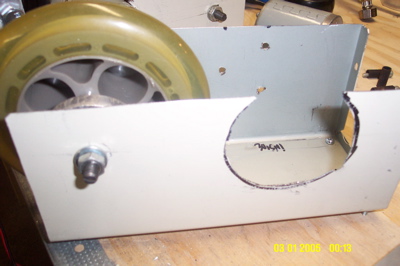
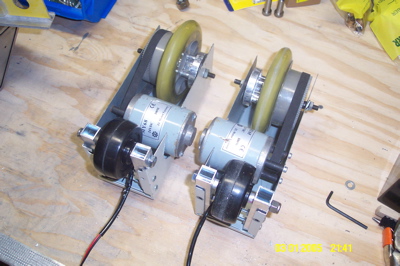
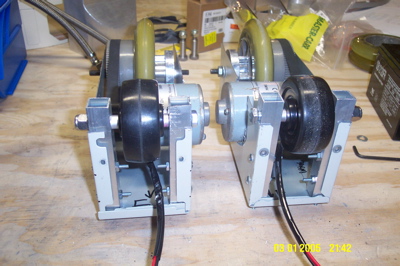
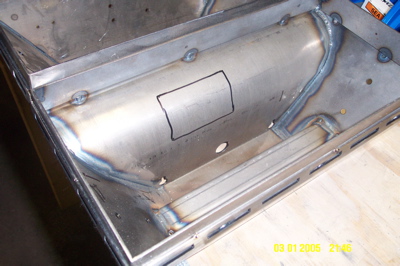
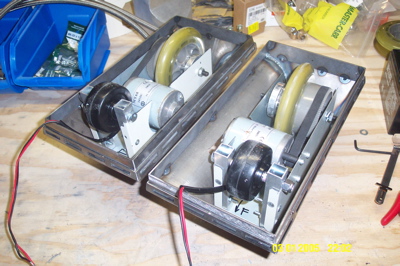
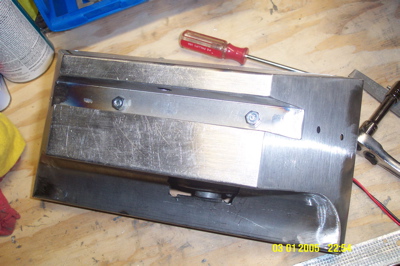
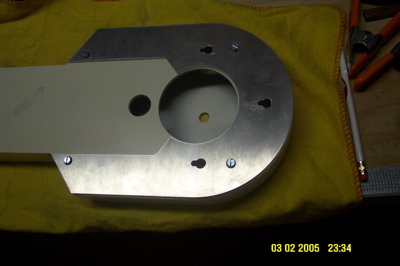
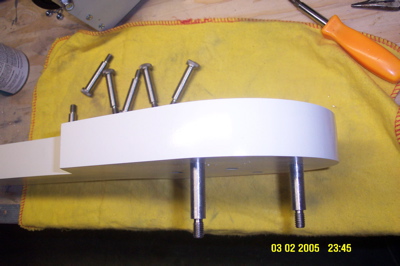
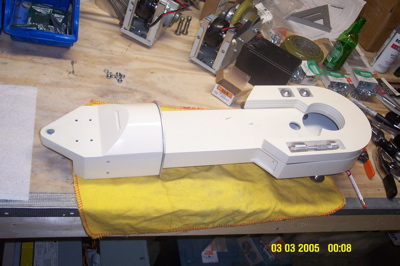
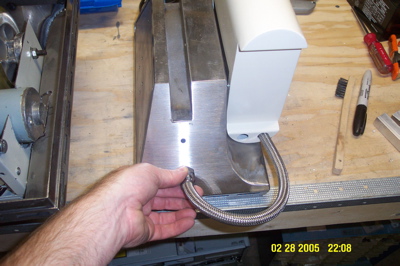
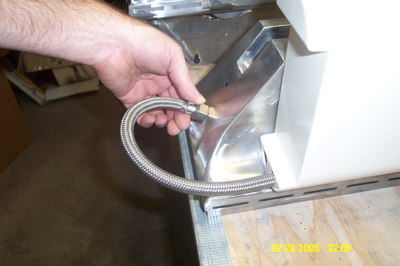
I'm working through the challenge of fabricating the tilt rod that is supposed to run down each leg to the ankle and attach to the body to limit the tilt in the 2-3-2 process. My first step was to find an aluminum tube that fits thru the center hole of the satellite motors. Here it is in place. This also really helps when mounting/unmounting the legs and hubs to the body.


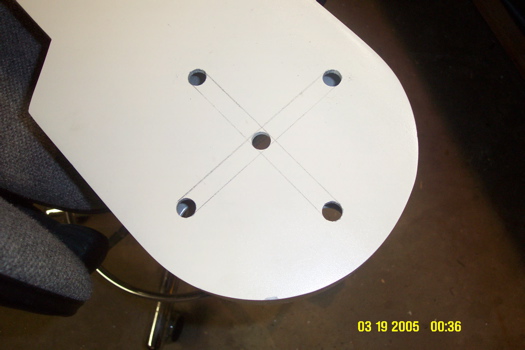
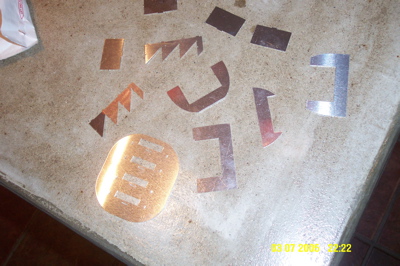
Next step is to find the proper length of the rods and fabricate the ends and pivot points and attachment points to the ankle and body. Should be fun. Alex's diagram helped tremendously.

Cut out the rear panel

The A&A frame has a very nice rear door, but it requires that you cut your skins to use it. So here's my rear door after being cut out using a jigsaw with a fine metal cutting blade. What a tedious job that was.

Attaching the Sherrell skins to the A&A frame

I used small wood screws to attach my aluminum Sherrell skins to the A&A frame. I drilled small holes in the skins at the top and bottom locations shown here:


Hopefully the screws will be mostly hidden by the shoulders and feet.

Dome drive and rockler mount close-ups

Just some close-ups of details on mounting the dome drive and rockler for the benefit of others:


More foot and ankle details added

Ankle cylinder holders and outer half moons for the feet being painted.


Cylinder holders and half moons attached. They're bolted on using 8-32 bolts. I drilled into the resin parts then tapped/threaded the holes.


Also note the ankle wedges have been attached using the same method, although with them I had to drill thru 2 layers of the ankle and put the bolt in at a funky angle.


Friday, March 25, 2005

Building the braided hose assemblies

I used 1/2" diameter braided plumbing hoses from Home Depot with Keith Henry's resin knurled fittings. Get 4 hoses, and cut them down to 12" long. Put the hose end in a vise and use a fine metal hacksaw blade or jigsaw to cut them. Be careful not to let the ends of the braid fray too much.


I drilled thru the fittings and fed the hose thru so it was very snug. No need for glue or screws. The 1/2" countersink bit worked great for this.


Painted them up - sprayed the hoses bronze and the fittings silver.


Had to enlarge the holes in my JAG feet and battery boxes to accommodate the resin fittings. Be careful not to make the holes too big. The fit should be tight enough to hold them in place.


And here they are. Not too shabby.

Problems attaching JAG skirt to A&A frame

In trying to attach the JAG aluminum skirt to the A&A frame, I've run into a few problems.

The holes are there in the bottom small ring of the A&A frame that match the bolt positions on the JAG skirt, but unfortunately they are blocked by the 2 main thick vertical members in the frame. Additionally, the small bottom ring of the frame is just slightly larger than the skirt will allow to fit nicely. Perhaps because of the welds on the inside of the skirt.

Anyway, I am going to trim the ring a bit, which will be tricky since there is very little material at each of the inside 4 corners. I'm also going to have to drill new mounting holes for the skirt.

Good news is that I got the skirt slats attached and the the whole thing got primed and painted.


Tuesday, March 22, 2005

This IS the droid you're looking for...

Here he is together for the first time standing on his own 2 (not yet 3) feet:


And once more without the dome:

Friday, March 18, 2005

Attaching the legs

Here's my interim solution for getting the legs on the A&A frame - I cut a piece to match the 1/2" thick PVC JAG stops that came with the frame, but made mine from 1/4" birch ply.


Had to drill 4 new holes in each leg:


Used hardware from Lowes/Home Depot:


One leg on and rotated to the JAG stop endpoint:


Both legs on. The spacing looks just about right now for the aluminum hubs:

Wednesday, March 16, 2005

Rockler and dome drive installed

Tonight I mounted the Rockler bearing to the frame. After removing all of the plastic inserts, I had to drill 3 holes through the outer ring, equally spaced. I used 3 of the exiting ones as guides. The top ring of the frame has pre-drilled holes that match up to the Rockler, so that was a breeze. I mounted it with 1.5" 10-32 bolts and nuts/washers. Then I took it back off to figure out how to mount the dome to the bearing. It was pretty simple: 3 more bolts stick up thru the inner bearing ring and are held in place with nuts. Then I drilled 3 corresponding holes in the inside of the dome ring, and sit the dome on the bearing. The bolts hold it in place. Some more nuts threaded onto the ends of the bolts provide a height adjustment.

The dome drive was pretty simple too. I had to reverse the mounting piece and fashion a substitute way to anchor the tension spring. Tested it out with a battery and it works great.

Pics to come later.

Tuesday, March 15, 2005

Assembling the A&A frame

I've got my A&A frame together, all threaded rods in place, everything but the top ring glued and screwed (top ring is screwed only until the shoulder hub mounting issue is resolved). Since there were no instructions I used my best judgement in putting it together. I think I got it right, but I did have to drill a few holes where there were none, and had to notch a few pieces for clearance reasons. I read somewhere that solving puzzles increases your brain's capacity and can have a positive effect on your intellectual capacity. If that's true, then I should be a lot smarter now.

I really hope we can get the issues resolved with the leg mounting and TimCo shoulder rings, and hopefully well head of C3, otherwise my droid will be legless I fear. The aluminum rings look great and serve a useful purpose.


Saturday, March 12, 2005

Dome assembly almost complete!

All of the lower blue panels are attached now. Next I must install all of the top pie panel hinges. Starting to look like a droid now. Finally.


The Mac mini can be seen to the right of the dome. Kinda like having your empty head sitting on the counter with your brain sitting next to it. Ok that was crazy. Never mind.

Painting more parts

Painting the aluminum utility arms, resin power couplings, resing ankle wedges, and resin octagon ports.


Thursday, March 10, 2005

More test fits

Test fitting the ankle cylinders to the center ankle and the leg hub mounting hardware.


Painted radar eye and mounting blue dome panels

Here's the finished painted radar eye ready to be mounted.


I have also started mounting the blue dome panels. I'm using Loc-Tite adhesive for metal. Hopefully it will hold well enough.

Mounting the holoprojectors

After drilling and countersinking all those holes, I got around to mounting the holoprojectors in the dome. They are clamped in with small aluminum plates. I left them loose enough that you can adjust the emitter position manually.


The base for the front one is hollowed out so the Leia video projection can shine through.


Wednesday, March 09, 2005

Leia Video Shoot Success

Thanks to all who recommended Tammy/LadyLoki for Leia. She and Geoff were great fun (hey guys!). The green screen video shoot went smooth on Sunday morning, once my camera person finally got her cigarettes :). We even did some goofy stuff that I'm sure is going to be a hit at C3. Now I'm working on keying out and editing the footage and have already output a rough test file and it looks great projecting out of R2's dome!

Dome assembly progressing

I drilled and countersunk around 30 holes in the inner dome tonight. Every one got a flat head 6-32 stainless bolt that's flush with the outside of the inner dome surface. Three are for mounting the domes to the dome ring using L-brackets. There were 3 for each of the holoprojectors, 2 for each logic display, 2 for each PSI, and one for every circular dome panel on top to hold a hinge in place. A lot of drilling. Tomorrow I'll make the brackets and put it all together, then start attaching/adhering blue panels.

Monday, March 07, 2005

Mac Mini is here

R2-G4 now has a brain. And here is the box that it came in.


Here it is next to an outer foot so you can see how small it is.

Upper vent internals

Flat pack aluminum parts for the upper vent internals came today from Dave E.

Saturday, March 05, 2005

Outer feet, ankles, cylinders, and battery boxes

A test ft to see how everything is going to look. Looking good. I even got the foot detail pieces installed. Notice how the near foot looks whiter than the one in the background. That's the effect that the camera flash has on the Wimbledon White paint.

Friday, March 04, 2005

Mounting the resin radar eye

Here's how I mounted the resin radar eye from Dave Everett. Thanks to Kelly Krider for the tutorial.


Wednesday, March 02, 2005

Foot drive units made from scratch

I built my own foot drive units from scratch.


In place in the foot housing:


I cut the metal frame from some old PC case covers:


The front caster holder is made from 3/4" square aluminum stock:


Had to cut a hole in each foot housing to allow the drive motor to fit:


Test fitting the leg parts

I put most of the leg parts together just to see how they are going to fit.


Radar eye arrived

Dave Everett's excellent resin radar eye arrived today from Australia. After some sanding and cleanup, it's ready for a test fit. I need to cut the hole in the dome and figure out the best way to mount it. Also, the lens from David Reed fits perfectly.

Painting the outer feet

Finally had time to put several coats on the outer feet.

Tuesday, March 01, 2005

Braided hose length test

Looking for the correct length...


Looking for a Leia

I'm putting together a green-screen shoot soon to record Leia's holographic message for use in R2-G4.

I need to find someone to act as Leia in the video recording session who meets the following criteria:

1) has a very high-quality ANH Leia costume (white robe with hood, hairpieces, etc)
2) is roughly the same build and height as Carrie Fisher was in ANH
3) can lip sync her entire holographic message complete with body movements (I will provide the script and direction and an MP3 file of the original voice and there will be plenty of rehearsal opportunities before we shoot)
4) has an interest in participating in something like I described above and would be available for a half-day shoot at a studio here in the Nashville, TN area (note this is a volunteer thing - I'm not offering any payment - this is just a not-for-profit project between fans)

I'm looking to get this done in the next week or two. Let me know if you can think of anyone who might be interested and fit the above criteria. Feel free to forward this message. Interested parties can contact me directly.