Tuesday, May 31, 2005

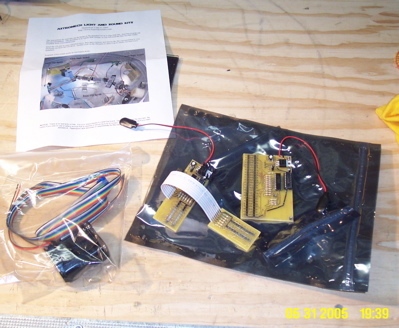
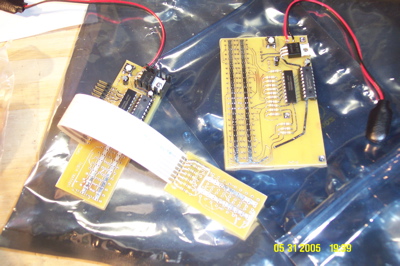
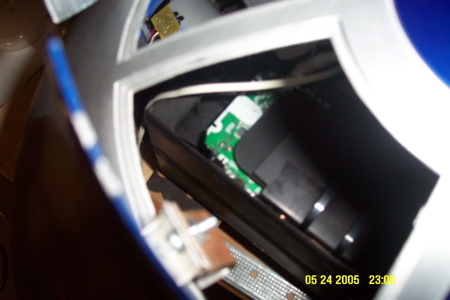
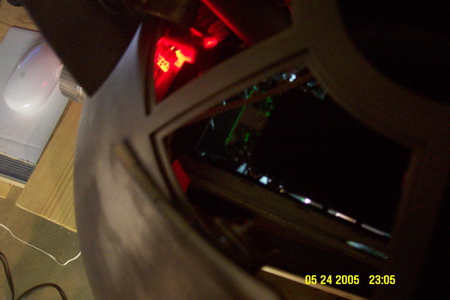
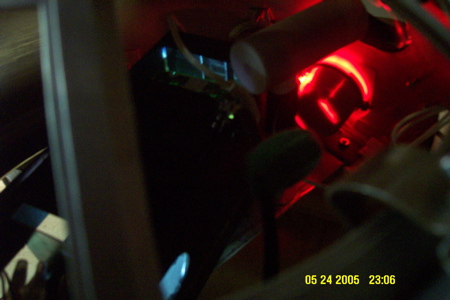
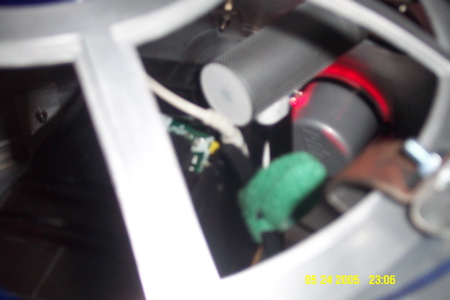
Hyperdyne logics light boards arrived

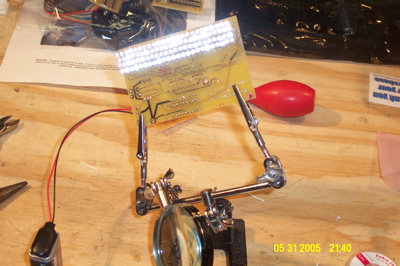
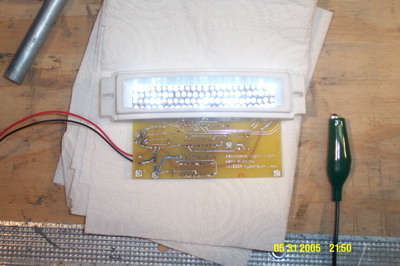
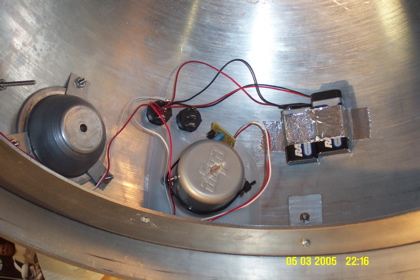
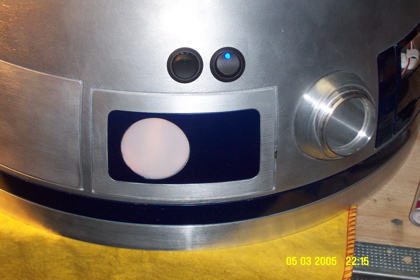
After I seeing them up close at C3 I ordered front and rear logic light boards from Jim Shima at Hyperdyne Labs. I ordered them without LEDs since I already had the LEDs and the boards were about half the cost unassembled. And besides, I like to solder. Yeah. Anyway they arrived today, and I got the rear unit finished tonight, and started on the fronts, but ran out of white 3mm LEDs. Got plenty of blue ones, but had to order more whites. I get mine from ABCTronics - he sells on eBay for cheap. 100 LEDs cost about $15 US shipped.


Tuesday, May 24, 2005

Test fitting the 12v holoprojector

A view down into the dome through one of the pie panels. The lens for the projector fits right up against the base of the metal HP.


The red glow is from the front PSI.


The Luxeon LED bulb assembly is very bright, considering it is a single LED.


It's a tight fit with the iSight camera and PSI all in there.


A shot of the Leia message being projected onto a screen.


Another shot of the Leia message. It's fairly bright and legible in a darkened room.

Mounting the iSight camera

I used the tripod mounting adapter from Kaidan. That's the small black rectangular thing that the iSign is connected to. It has a standard 1/4" threaded mounting hole and a cutout that snugly fits the FireWire connector on the iSight.


Monday, May 16, 2005

Making aluminum coin returns

I made my own set of 3 coin returns from left-over aluminum from the Sherell skins plus some aluminum step flashing from Home Depot.

I got the drawings from the Astromechs site. I printed them out 100% and marked the scrap aluminum. The benefit of using the scrap from the skins is that it's alread bent to the correct radius.

I have made JPEG versions of the drawings available for download, including my template for the inset piece:
left rear coin return JPG
right rear coin return JPG
left front coin return JPG

To cut the square openings, drill a 1/2" hole then use a nibbling tool to make the cuts. It's tedious, but worth the time.


Then for the inset part I cut a piece from thin step flashing and bent it to shape. I cut a paper template and used spray-tack to hold it into place (spray the paper, not the metal).


Cut it out, then peel off the paper. A straight edge is handy to get all the bends just right.


I have a template file for the inset piece if you want it. Just email me.


It's then JBWelded into place and clamped.


Saturday, May 07, 2005

Wiring the round AutoZone LED rocker switches

There are tiny numbers 1, 2 & 3 next to the solder terminals on the back of the switch.

Terminal 3 is a bronze color, while 1 and 2 are more silver color.

Terminal 3 is common ground (negative).

Your battery +9v (or +12v) supply goes to terminal 2. Do not send more than 12v through the switch or the LED will burn out.

Your switched output (to the + input to your dome PSI lights or whatever you are controlling) goes to terminal 1.

The built-in LED has an internal limiting resistor and gets its power from terminals 2 and 3.

Tuesday, May 03, 2005

Battery charger

Found this charger at Lowes for about $40. It's small, fully automatic, and has 3 charging levels and automatic shutoff. Not bad.

Main eye lens

I have David Reed's cool surplus camera lens, but I think I'm going to save it for my next droid.


I want to use Azman's clear/bronze lens so I can mount the iSight camera in the dome and see out through iChat. There's just no way to do that with David's lens.


I had to Dremel out the inside edge of the eye to allow the resin part to sit flush on the dome with the lens sandwiched in-between.


A little Sharpie around the edges to black out any shine from the inside through the lens, and hey-presto: check that out.

Monday, May 02, 2005

Cleaning up the linear actuator

Spent time tonight on the linear actuator for the middle leg. I disassembled it completely and cleaned all the parts.


I had to get a star drive set to get the screws out.


I cut off the large angled flange on the side. I used a jigsaw and chewed up 2 metal cutting blades. That stuff is thick.


I was going to sand it down to the aluminum, but got impatient and just stopped after about an hour. Here it is back together. Now to figure out how to mount it and the center leg/ankle/foot.

Sunday, May 01, 2005

PSIs working and mounted

I got the front and rear PSIs done and mounted. I used plastic shaving cream caps lined with reflective metal tape for the enclosure. I used white milk jug plastic for the lenses. I have dual LED flashers for the electronics.


They are wired through one of the round LED rocker switches on the rear of the dome. I'll use the other switch for the front/rear logics LEDs and PIC flashers. The switches are available with red, green, or blue LEDs from AutoZone for $4.99 each.